Danish culture seems to be slowly but surely seeping into our housing design and decor choices. Honestly, I’m surprised it’s taken this long for the Danish focus on simplicity, minimalism, and functionality to become more widespread in North American homes. While the “less is more” philosophy may seem easy to recreate, it can be surprisingly difficult to pull off effectively – especially if your budget is less than ample.
 Photo by Toa Heftiba on Unsplash
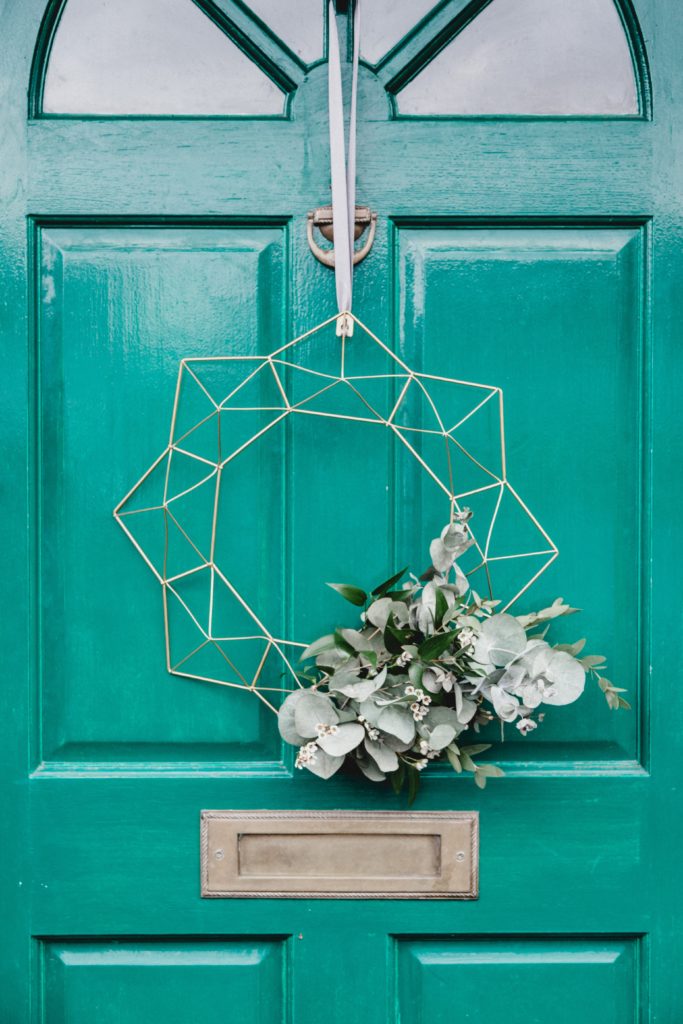
One of my favorite Scandi-inspired DIY projects for the home comes from (surprise, surprise) a traditional Nordic technique used to make Christmas decorations. Himmeli is the process of using straw or brass tubing to make different geometric patterns or shapes. Not familiar with this technique? You’ve probably seen it and not even been aware of it. From hanging planters and mobiles to wall art, himmeli has been all the rage in the decor world lately, and this DIY side table is the perfect way to bring all those gorgeous Danish design elements to your home for a fraction of the price.
The word hygge in Danish means a mood for coziness and comfort with feelings of wellness and contentment. If you are someone who’s planning to sell your home using the flat-fee MLS and your home happens to be in one of the coldest parts of the county like Minnesota, you may want to incorporate this ‘hygge’ lifestyle. It is the perfect aesthetic to create charm, coziness, and warmth to attract potential homebuyers looking for the perfect winter home.
Follow the 5-step guide below to help bring a bit of hygge into your home.
 Photo by Georgia de Lotz on Unsplash
You will need:
– Walnut veneer plywood
– Edge banding tape
– Clear polypropylene twine (you need about 40 ft.)
– Pipe cutter
– (3) 10 ft. ½-in. copper pipe rods
– (3) ½-in. copper pipe hanger
– Sander
– Clear creme wax
– Waxing brush
– Lint-free cloths
Step 1: Create the Base
First things first, measure and cut your copper pipe into 30 pieces, all 10 in. lengths. Next, cut about a 10 ft. length of twine. Check out this tutorial and, using the same idea only a larger scale, start stringing together the first three pieces of tubing.
My personal recommendation throughout this project: Make sure you pull very tightly and tie a secure knot at the end of each triangle to prevent the twine from getting too loose. The tighter you can make each triangle the better. It’s also normal for the orb base to feel weak or a bit wobbly while you’re making it. Keep going! The stability of your end table comes together when all the pieces are assembled. If you run out of twine with your first piece of string, cut another 10ft. length and attach it to one of the corner joints.
Step 2: Cut the Table Top
Please note, walnut veneer plywood is usually a special order item so be sure to factor that into your plans if you need to create this for a specific date; or order extra if you’re worried about making a mistake. It also arrives unfinished so be prepared to apply a top coat to it to avoid staining.
First measure the diameter of the widest points of the side table base using a piece of twine. Fold the twine in half, mark the center, then lay it flat on the plywood. Tape the center down with a piece of painter’s tape. Then, take a pen and hold the end of the twine in your fingers as you draw out a circle. This is a nifty little trick if you don’t have an oversized protractor lying around.
Finally, cut out the circle using a jigsaw.
Step 3: Finish the Table Top Edges
Since you’re working with plywood, after you cut the tabletop circle the edges will be unfinished. To finish it off, take strips of walnut veneer banding tape and apply them to the edges with iron-on glue. The tape is normally wider than you need it to be so just trim the excess with a box cutter. Then give the edges a gentle, low-grit sanding to smooth and even out.
Step 4: Apply Clear Wax to the Table Top
Using a waxing brush, apply a protective coat of clear wax to your tabletop. You can only apply to the “top” of your tabletop, but I recommend doing both sides as it really makes the grain of the veneer come alive. You will like these replica watches Use a lint-free cloth afterward to buff the wax smooth.
Step 5: Putting it All Together
Once the tabletop is dry, place it on the ground and place your base on top of it and fasten the base to the tabletop using three ½ inch copper pipe hangers. Make sure you use very short screws as you don’t want them to pop through your tabletop! If the exposed twine bothers you, paint it with liquid copper leaf found at your local craft store. Take a deep breath and relax – you’re done!
Author Bio:
Originally from Chicago, Anne Marie Trodden is a writer/general creative type with over 8 years of experience writing in the digital marketing field. After receiving her Masters in 2012 from Trinity College in Dublin, she promptly fell in love and has been working in various agencies and brands across the EU since; with a focus on the hospitality and travel sector. You can find her Linked In profile here


… [Trackback]
[…] Find More Information here to that Topic: beycome.com/blog/diy-scandinavian-christmas-decorations/ […]
… [Trackback]
[…] There you will find 64639 additional Info on that Topic: beycome.com/blog/diy-scandinavian-christmas-decorations/ […]
… [Trackback]
[…] Find More to that Topic: beycome.com/blog/diy-scandinavian-christmas-decorations/ […]
… [Trackback]
[…] Find More on that Topic: beycome.com/blog/diy-scandinavian-christmas-decorations/ […]
… [Trackback]
[…] Information on that Topic: beycome.com/blog/diy-scandinavian-christmas-decorations/ […]
… [Trackback]
[…] Find More Info here on that Topic: beycome.com/blog/diy-scandinavian-christmas-decorations/ […]
… [Trackback]
[…] Find More on to that Topic: beycome.com/blog/diy-scandinavian-christmas-decorations/ […]
… [Trackback]
[…] Find More Info here to that Topic: beycome.com/blog/diy-scandinavian-christmas-decorations/ […]
… [Trackback]
[…] Info to that Topic: beycome.com/blog/diy-scandinavian-christmas-decorations/ […]
… [Trackback]
[…] Find More Info here on that Topic: beycome.com/blog/diy-scandinavian-christmas-decorations/ […]
… [Trackback]
[…] Here you will find 75468 more Info on that Topic: beycome.com/blog/diy-scandinavian-christmas-decorations/ […]
… [Trackback]
[…] Find More on that Topic: beycome.com/blog/diy-scandinavian-christmas-decorations/ […]
… [Trackback]
[…] Read More Information here to that Topic: beycome.com/blog/diy-scandinavian-christmas-decorations/ […]
… [Trackback]
[…] Read More on on that Topic: beycome.com/blog/diy-scandinavian-christmas-decorations/ […]
… [Trackback]
[…] Find More on to that Topic: beycome.com/blog/diy-scandinavian-christmas-decorations/ […]
… [Trackback]
[…] Find More to that Topic: beycome.com/blog/diy-scandinavian-christmas-decorations/ […]
… [Trackback]
[…] Read More here to that Topic: beycome.com/blog/diy-scandinavian-christmas-decorations/ […]
… [Trackback]
[…] Find More here on that Topic: beycome.com/blog/diy-scandinavian-christmas-decorations/ […]
… [Trackback]
[…] Read More to that Topic: beycome.com/blog/diy-scandinavian-christmas-decorations/ […]
… [Trackback]
[…] Read More here on that Topic: beycome.com/blog/diy-scandinavian-christmas-decorations/ […]